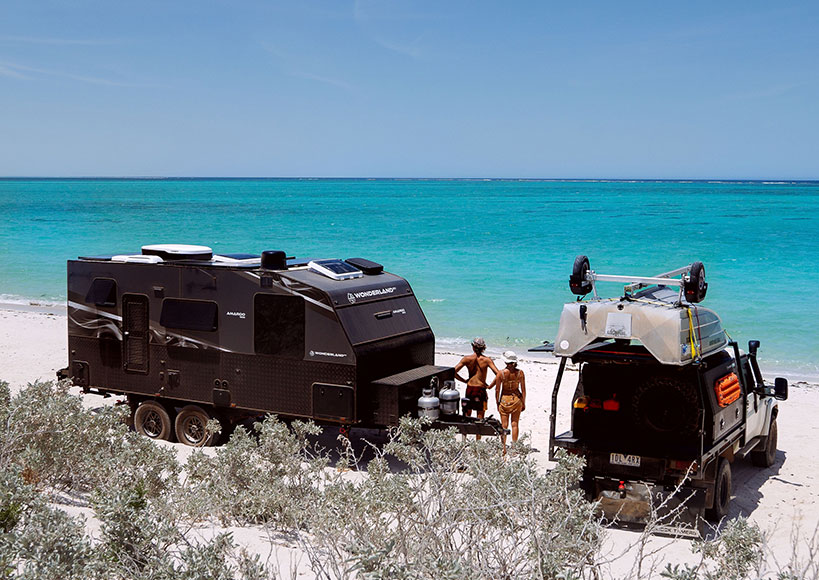
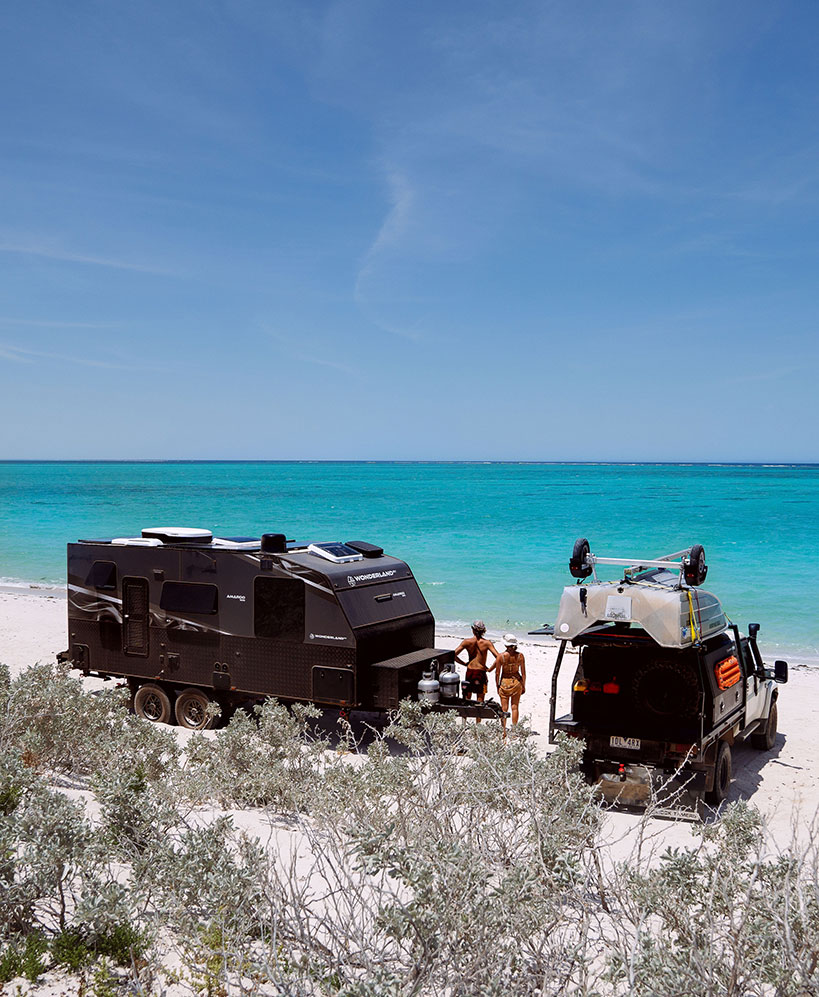
Embarking on a journey across the vast and diverse landscapes of Australia is a dream for many. The open road, endless horizons, and the freedom to explore at your own pace are unparalleled experiences. But to truly make the most of your Australian adventure, embarking on a caravan build or van conversion is the way to go. Here's a step-by-step guide with helpful tips to create your dream home on wheels, ensuring comfort, functionality, and style.
Step 1: Plan your space before you begin cutting any holes!
-
Calculate how much solar you will need and compare how much space you have on your roof.
-
When looking at solar panels don’t forget to include space for skylights, vents, antennas and air conditioners.
-
Decide how many and where you want your windows to go. We have a wide range of windows to choose from including sliding and push out windows.
-
If installing gas check state laws on where any gas appliances and gas bottles can be legally fitted.
-
Planning your fridge location is important as you will require external ventilation which will require cutting into the side of your vehicle.
-
Whether you install your electrical system under your bed or under the couch planning the wiring route is important to ensure there is minimum length between chargers, inverters and batteries.
-
Smart planning is the best for your plumbing. Reducing bends and angles as much as you can save on labour and costs. Also consider the positions of your water and grey tanks. Keeping in mind how your RV will tow when these are full. You also need a water pump so take the placement into consideration.
-
Always plan where your lighting will go, keeping in mind cooking, dining and sleeping areas.
Hot tip: Measure, measure, measure and AGAIN!
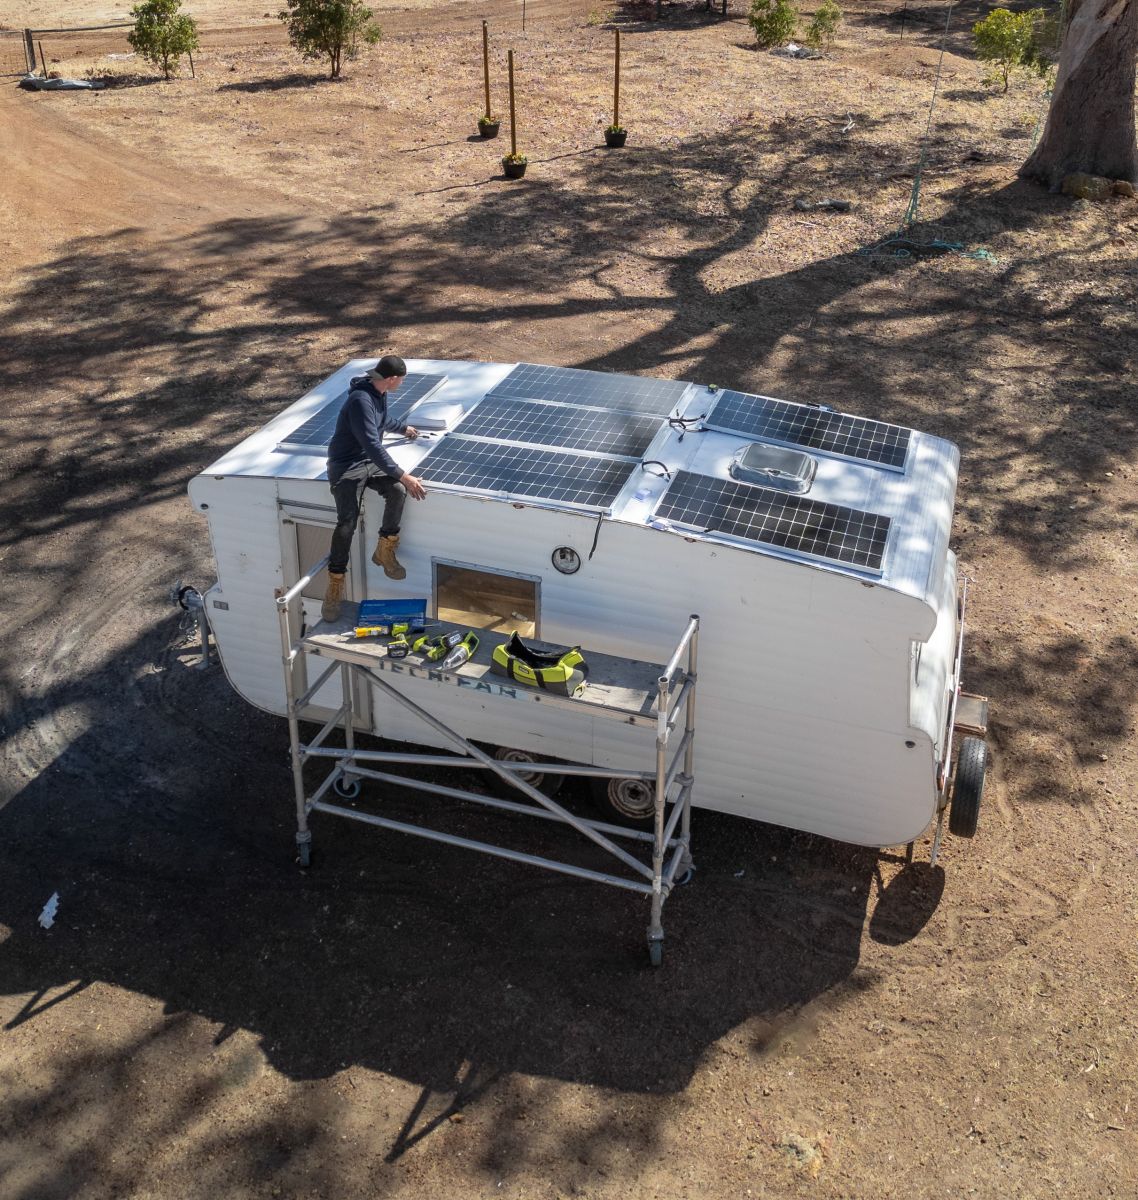
Step 2: Roofing is your shelter from the elements!
First things first—your van's roof. It needs to be sturdy and weather-resistant to protect you from the harsh Australian sun, sudden rain showers, and everything in between.
-
Priming and repairing: If your roof is old and dirty consider giving it a clean and sanding it down with a rough sandpaper. Any holes or gaps should be filled in with something strong and waterproof such as sikaflex pro. For an all in one sealer and paint check out the PLAS-T-COTE Roof Sealer. It can be used with many surfaces including galvanized steel, concrete, wood, polyurethane foam, or other places that require durable and long-lasting protection.
-
Ventilation: Add a skylight to help catch a breeze. Good airflow is essential to prevent condensation and keep fresh air circulating. If you are planning to include a bathroom then a 12V roof vent is necessary.
Hot tip: Using a quality sealant on any roof fixtures, remembering water will always win.
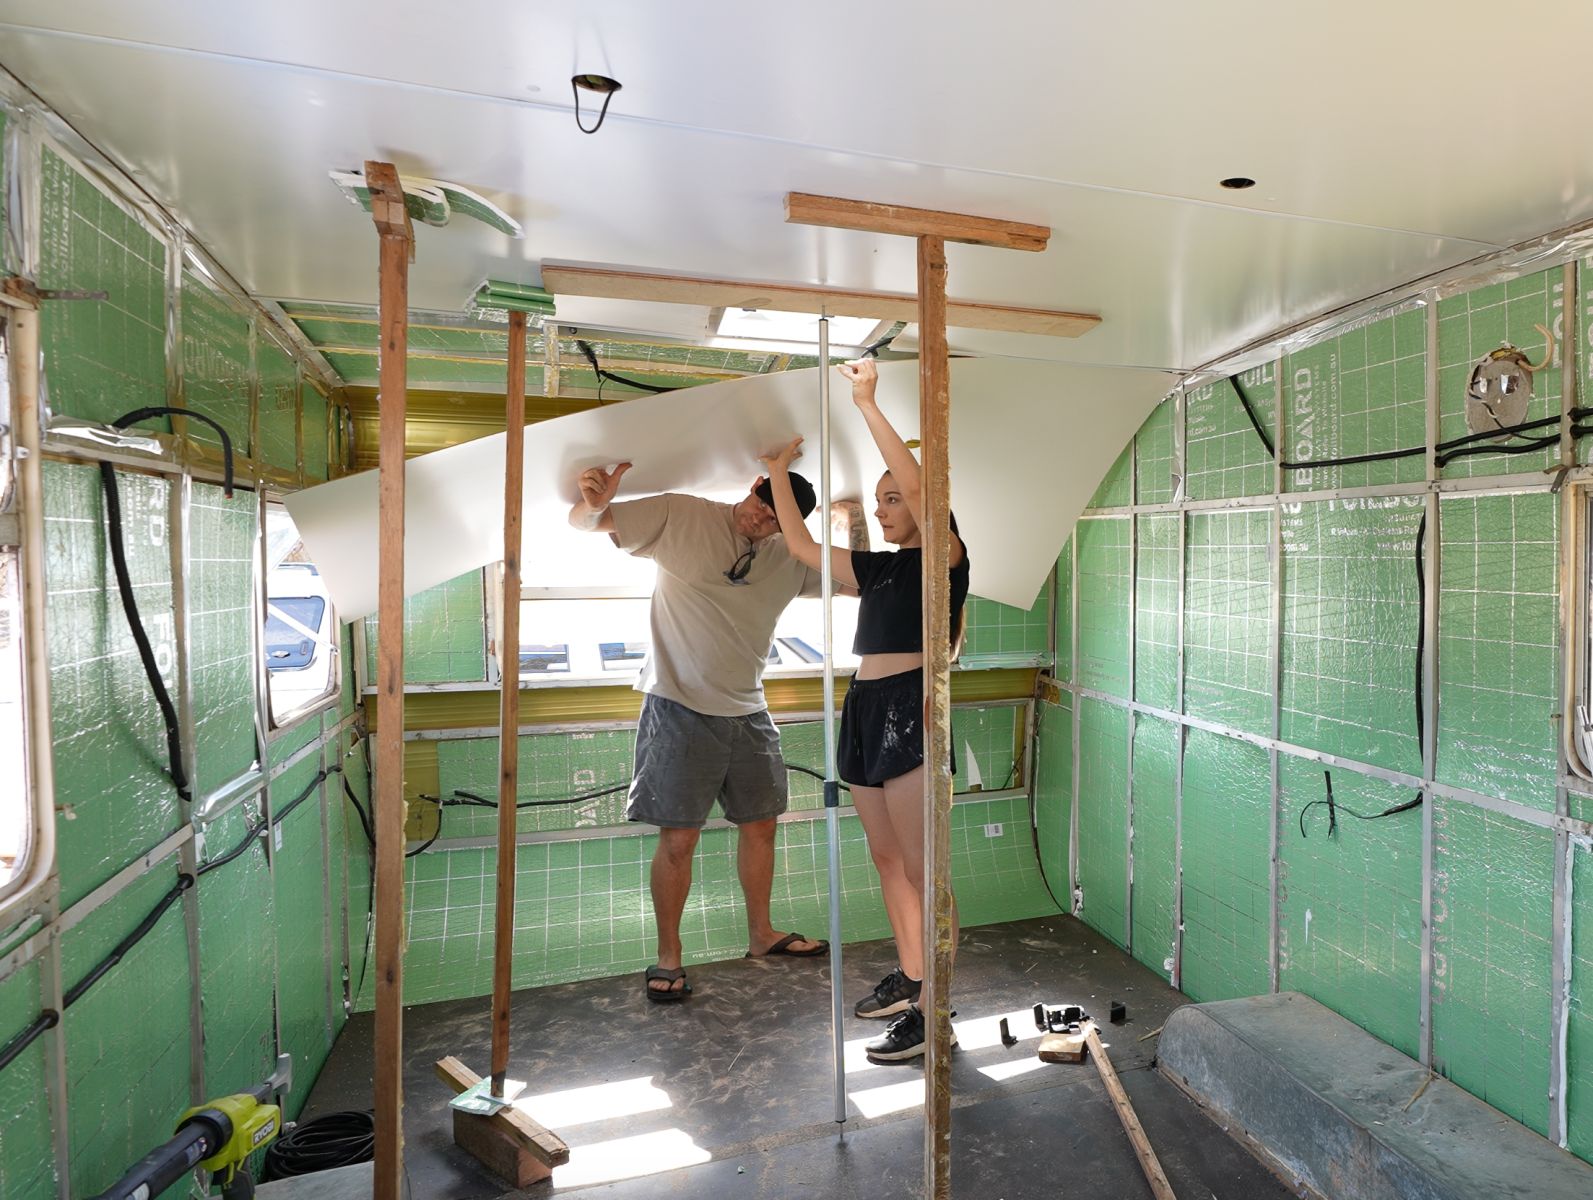
Step 3: Create a cozy interior with your walls!
The walls of your van will define the ambiance of your living space.
-
Sound deadening is an important step especially if you don't want to whisper when you're parked next to someone else or plan to drive on corrugated roads around Australia.
-
Insulation is very important to keep the van's temperature regulated in both hot and cold climates. There are a number of material options to choose from. Here are some favourites materials used by fellow van builders:
Foil Board Syrofoam
Wool insulation
-
Paneling: Cover the insulated walls with lightweight, decorative panels. Popular choices for their aesthetic appeal and practicality include;
Untreated plywood
Polyster plywood
Pine Shiplap (primed)
PVC panels
-
Storage: Maximise wall space by planning out and incorporating built-in shelves and cabinets. Every inch counts in a van build.
Jack & Megans Hot Tip: We used polyester plywood for our walls as it came out to be around the same price as buying untreated plywood plus primer & paint, but without any of the effort.
Step 4: Flooring is the foundation of comfort!
Your van's floor should be robust, easy to clean, and comfortable underfoot.
-
Subfloor: Start with a solid subfloor, typically plywood of formply provides a sturdy base.
-
Insulation: Add a layer of insulation like foam boards to keep the chill out during cooler nights.
-
Top Layer: Choose durable, easy-to-clean flooring materials such as vinyl or laminate. These are resistant to spills and wear-and-tear.
-
Wet areas: Use a quality waterproofing agent to prevent any water damage later down the track.
Jack & Megans Hot Tip: The Sikaflex range is a great product to use throughout your whole build as it is strong and can withstand vibrations therefore is great for van builds.
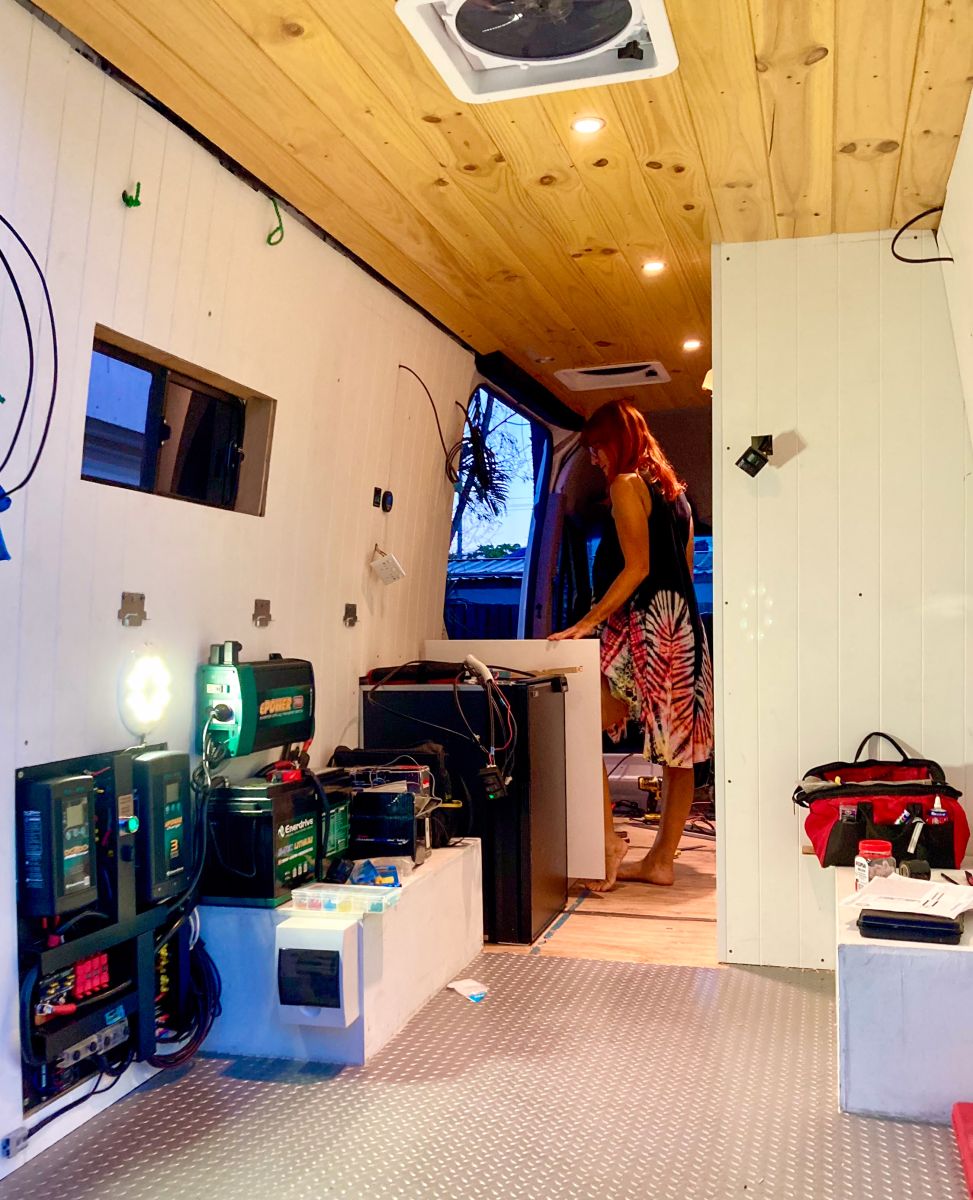
Step 5: Power your adventures with an electrical system!
A reliable and big enough power system is a game-changer for off-grid van life, powering everything from lights to kitchen appliances. But first work out what appliances you intend to run.
-
Solar Panels: Install solar panels on the roof to harness the abundant Australian sun. Aim for a minimum 200 – 400W of solar power to start with.
-
Battery Bank: A battery whether it is AGM or Lithium helps store solar energy and keeps you off-grid. Lithium batteries are lightweight and efficient. 200 – 400Ah of lithium is a great place to start for powering fridges, fans, TV, chargers and air cons for short periods.
-
Inverter: You will require an inverter if you want to use appliances such as rooftop air cons, coffee machines, electric kettles, air fryers etc.
-
Chargers: It is optimum to have an AC charger to fully charge your batteries from home before you leave. And a DC charger to charge from your cars alternator as you drive. You will also require a solar controller for your solar panels. Please note some DC2DC chargers have a solar controller in them.
-
Wiring: Plan your wiring carefully, ensuring all connections are secure and labelled. Use high quality cables and fuses for safety. Keeping distances short between batteries, chargers and inverters will help aid in reducing voltage loss.
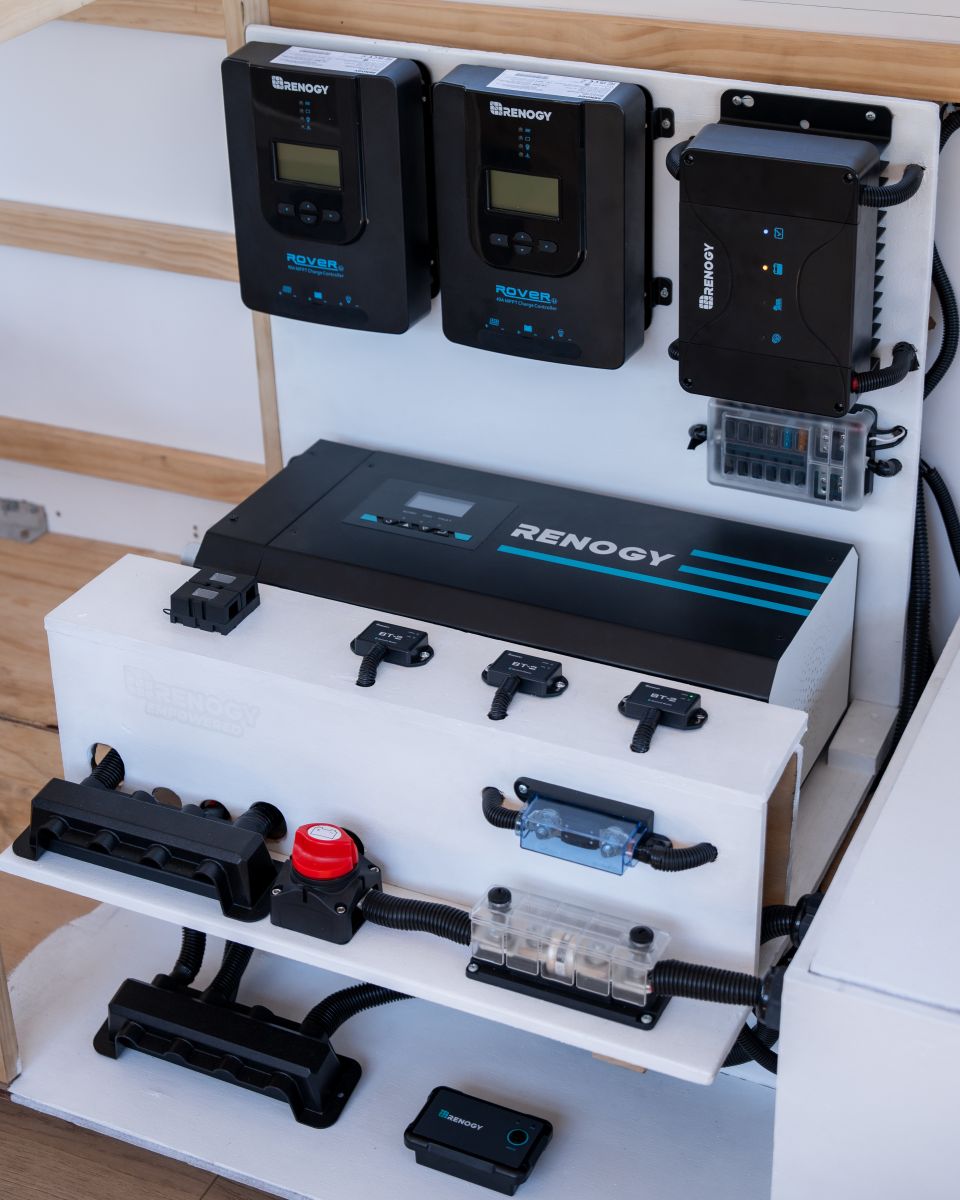
Got a caravan? Check out Jack & Megan’s Power System:
-
2 x Renogy 200Ah Core Series Deep Cycle Lithium Iron Phosphate Battery
-
1 x Renogy DCC50S 12V 50A Dual Input DC to DC Battery Charger with MPPT
-
1 x Renogy 3000W 12V Pure Sine Wave Inverter Charger with LCD
-
1 x Renogy ONE Core
Check out the bundle with everything you need here!
Got a campervan? Check out ausbackpacker’s Power System:
Check out the bundle with everything you need here!
Got a 4WD canopy? Check out Riley Judd’s Power System:
Step 6: Having the ultimate kitchen setup on the road!
A well-equipped kitchen makes van life much more enjoyable, allowing you to whip up meals on the go.
-
Countertop: Install a durable countertop with enough space for meal preparation. Butcher block or laminate are good choices (keep in mind weight).
-
Sink and Tap: A compact sink with a foldable tap saves space. Connect it to a water tank and a grey water tank for easy water management.
-
Stove: Here you need to decide on gas or electric? Check out our range of stove options here. If you do want an oven or grill then check out the stove and oven combos.
-
Rangehood: With 12V rangehoods on the market these are a great solution to help extract the smells and steam out of your caravan
Step 7: Experience peace and privacy with a bathroom!
-
Do you have the space? If you are limited for space many people opt to have a shower and toilet combo. There are waterproof toilets and vanity basins available to have an all in one ensuite. If you don’t have the space for a shower try an external shower box fitted to the outside of your van for a full rustic outdoor experience.
-
Toilets: most caravan toilets have the ability for their bowl to spin. These can be fitted in tight spaces yet still be comfortable to use.
We hope this blog has given you some ideas, inspiration and advice for your next van or caravan build! If you have any tips or suggestions please drop them down in the comments below. For further inspiration, advice and ideas take a look at our DIY vanbuild page here. And as always if you have any product questions feel free to give our team a call on 1800 787 278.
-
DISCLAIMER* Please note, this advice is general in nature and we strongly recommend consulting the product manual and where relevant, a professional installer.